
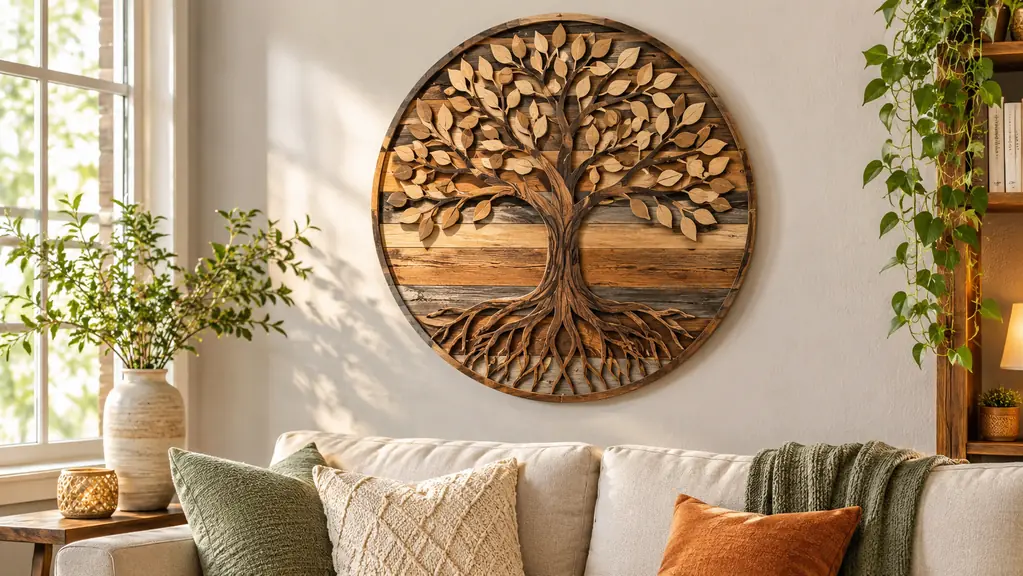
The hardest part of buying laser cut wood wall art is not picking the piece. It is getting it onto the wall without leaving a mark you will have to explain later. I have spent six years making and hanging laser cut and scroll cut ornaments, wreaths and signs, and I have patched more drywall than I care to admit. The moment goes like this: you hold the piece up, step back, tilt your head, and then you reach for a hammer you are not sure you should use.
The 12-inch Sacred Om from Fourth Level Manufacturing changed how I do it. The piece weighs 8.8 ounces, it is about a tenth of an inch thick, and it is made from multiple layers of basswood cut with high precision. A piece that light does not need a stud finder, a wall anchor, or a drill. It needs a method that holds it flat, keeps it level, and lets you move it later without patching anything. This guide is that method, step by step, the way I actually do it at my work table in the garage.
Start with a piece light enough to hang anywhere
The 12-inch Sacred Om from Fourth Level Manufacturing weighs 8.8 ounces and sits about a tenth of an inch off the wall. That is exactly the kind of piece this method was made for. Check today's price on Amazon.
Amazon Check Today's Price on Amazon →What You'll Need
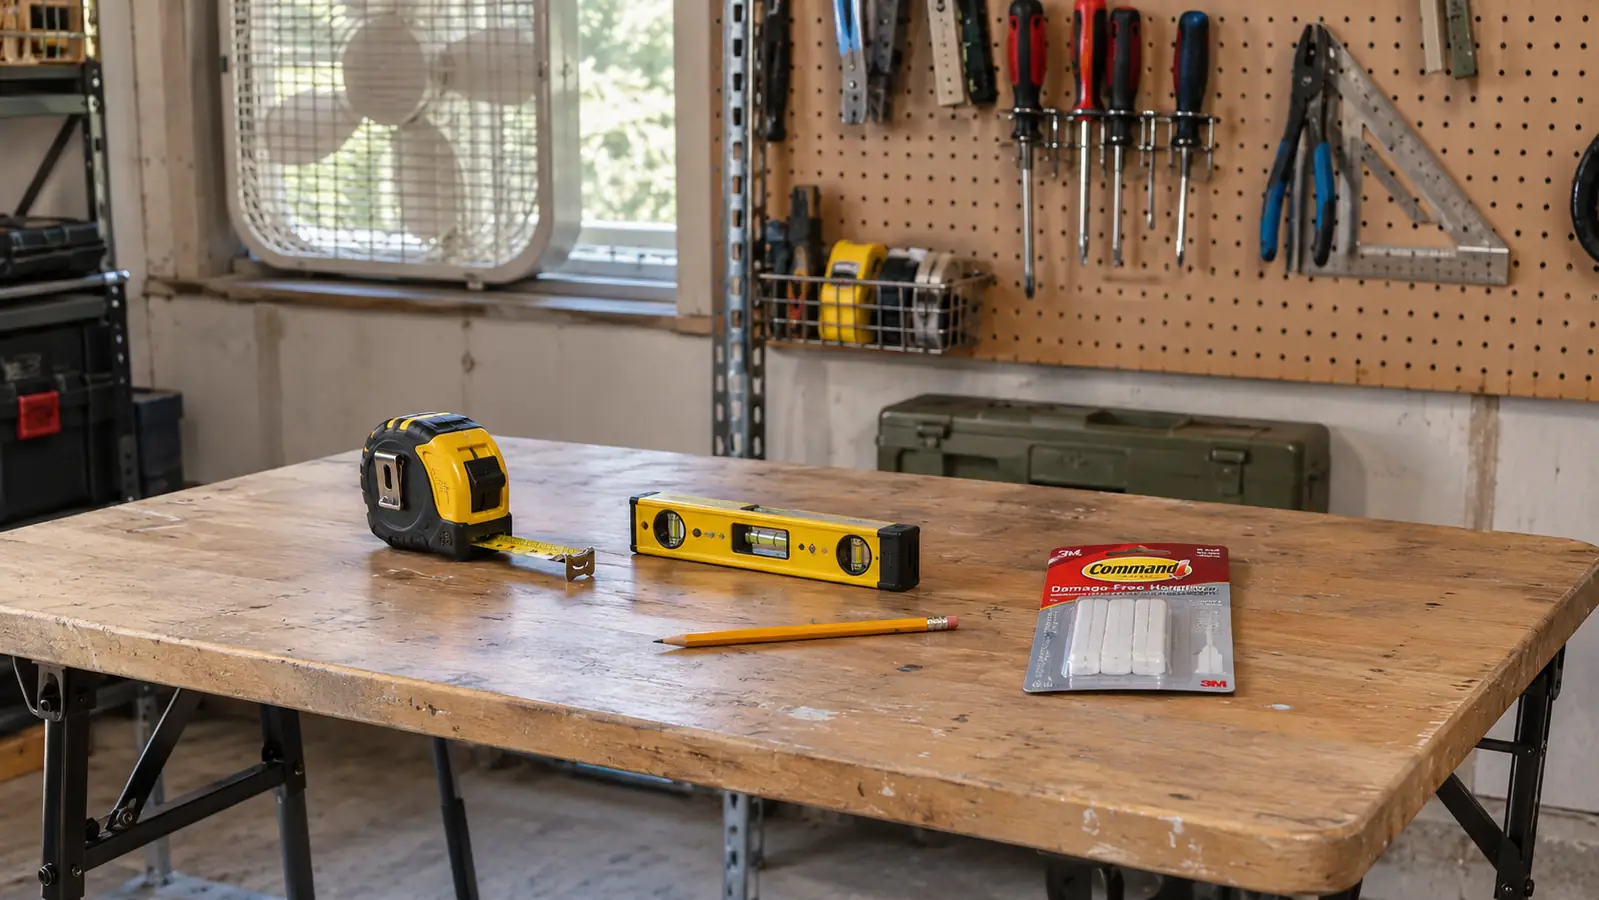
You do not need much. A pack of adhesive hanging strips rated for one to two pounds, a tape measure, a small level, a clean cloth, and a little rubbing alcohol. Painter's tape helps if you want to mark the wall without a pencil. That is the whole list. Everything except the strips is probably already in your house. I keep my strips in a drawer next to my folding work table, because I use them for ornaments, wreaths and signs all year round.
Why Laser Cut Wood Needs a Different Approach
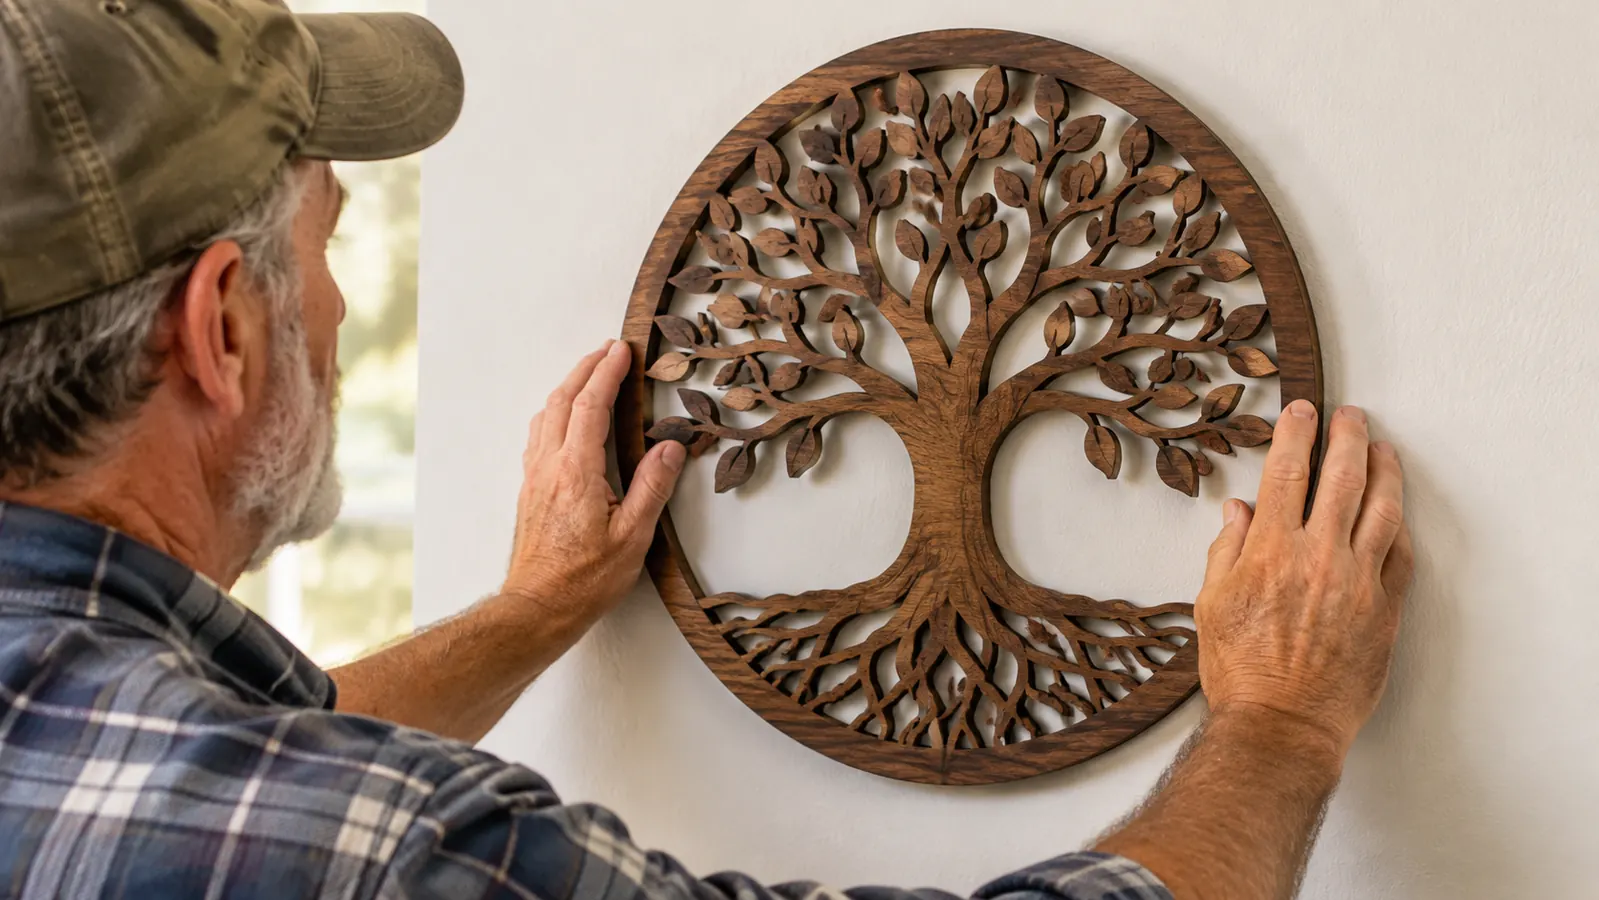
Laser cut wood art is not a framed print. A framed print has a solid backing and a rigid edge, so it can take a nail or a screw without complaint. A laser cut piece is thin layered basswood, sometimes with open spaces between the layers. The 12-inch Om from Fourth Level Manufacturing is barely a tenth of an inch thick. Nail through the wrong spot and you can split a layer or leave a visible mark at the front of the piece.
Adhesive strips solve that because they never go through the piece. They grip the back, spread the weight across a wide surface, and hold the whole panel flat against the wall. For a piece this light, that is not a compromise. It is the better method. The only time I reach for a nail is when the wall texture will not cooperate, and that is rare in a normal living room.
Step 1: Choose a method that matches the weight
Start with the number that matters most: 8.8 ounces. That is the weight of the 12-inch Om from Fourth Level Manufacturing. For anything under a pound, adhesive strips rated for one to two pounds are more than enough. One strip would probably hold it. I use two because a round piece can spin if it is held at a single point, and two strips stop that before it starts.
A small nail also works, and some people prefer the permanence of it. If you go that route, a finishing nail is plenty. You do not need a stud finder at this weight, and you do not need a wall anchor. Anchors are for heavy mirrors and shelves. On a piece this light, an anchor is overkill, and overkill is its own kind of damage: it makes a bigger hole than the job requires.
Here is the tradeoff. A nail leaves a hole you have to fill when you move the piece. Adhesive strips leave nothing. For a piece you might want to rotate between rooms, or a piece you are not sure is in its final spot, strips are the better call. The Om is the kind of piece people move around, from a meditation corner to a living room wall, so I would start with strips.
Step 2: Clean the wall and the back of the piece
Adhesive strips fail for one reason more than any other: dust. The wall looks clean, but the strip is gripping a thin film of kitchen grease or laundry lint. Wipe the spot on the wall where the strips will sit with a cloth and a little rubbing alcohol. Give it thirty seconds to dry. That is the difference between a strip that holds for a week and a strip that holds for years.
Do the same to the back of the piece, gently. Basswood is soft, and laser cut pieces can carry a fine dust from the cutting process or from shipping. A dry cloth is enough. You are not scrubbing, you are just giving the adhesive a clean surface to bite into. I do this step at my folding work table, over a trash bin, so the dust does not end up on the floor.
One more thing while you are at it: check the wall for texture. Adhesive strips want a smooth, painted surface. If your wall is heavily textured, the strip will only touch the high points, and the hold will be weak. In that case, a small nail is the honest answer. Most living room walls are fine. The Om is meant for a living room, and in a normal painted living room, strips work.
Step 3: Measure and mark before you stick anything
Decide where the center of the piece should sit. For wall art in a living room, eye level usually means the center of the piece lands around 57 to 60 inches from the floor. That number is a starting point, not a law. If the piece hangs above a sofa, the bottom edge should clear the back of the sofa by several inches. Step back and look before you commit.
Mark the spot with painter's tape, not a pencil. Tape is the better tool here because it is visible from across the room, it does not leave a mark on the paint, and you can move it ten times without a trace. I put a small piece of tape at the top edge of where the piece will go, then I stand back and check it against the furniture and the window line.
Use a tape measure to check that the mark is centered on the wall, and use a level to make sure the reference line is true. A round piece does not have a straight top edge to check, so the tape mark is your reference. Get the mark level before you stick anything. Once the strip touches the wall, small corrections are easy, but big ones are not.
Step 4: Put the strips on the piece first
Here is the order that saves the most frustration: attach the strips to the back of the piece before you bring it to the wall. Peel the liner off one side of each strip and press it onto the back of the Om near the top edge. For a 12-inch round piece, I use two strips, one at roughly ten o'clock and one at roughly two o'clock. That spread keeps the piece from pivoting.
Press each strip firmly for about thirty seconds. The instructions on the strip package are the real authority here, and they are worth reading once. Different brands want slightly different things. What they all want is firm, even pressure and a clean surface, which is why Steps 2 and 3 matter so much. Do not rush this part. Thirty seconds now saves you from pressing the whole piece against the wall twice.
When the strips are on the piece, peel the remaining liner off. Hold the piece by its edges, line up the top edge with your tape mark, and press it to the wall. Start at the top and work down, so you are not trapping air behind the piece. The Om is thin, about a tenth of an inch, so it will sit close to the wall and look like it belongs there, not like it is floating.
Step 5: Press, wait, and check again tomorrow
Press the whole face of the piece against the wall for a full minute, with extra pressure right over the strips. Then step back and check it with a level. If it is crooked, do not slide it. Slide is what breaks the bond. Lift it straight off the wall, adjust, and press again. The strip stays usable as long as you lift straight and do not pull down on it.
Then leave it alone. Adhesive bonds get stronger over the first hour and keep improving over the next day. If you hang the piece and immediately start adjusting it, you never give the bond a chance to set. I hang pieces in the afternoon and check them the next morning. Almost everything is still level. The few that are not get lifted straight off and pressed again.
When the day comes that you want to move the Om to another wall, removal is the whole point of this method. Pull the release tab if your strips have one, or slide a length of dental floss behind the piece to release the strip, then roll the strip off the wall with your thumb. No hole, no patch, no touch-up paint. That is the entire reason I switched to this method for light pieces.
What Else Helps
A second pair of hands helps more than any tool. Dale holds the piece while I check the mark from across the room, and he catches the tilt I cannot see from close up. If you are hanging alone, use the tape mark and step back more than you think you need to. Perspective from a few feet away is the cheapest level you own.
Good light matters too. Overhead light casts shadows that hide the gap between the piece and the wall. A lamp or a window at an angle shows you whether the piece is sitting flat or leaning away at the top. And if you are hanging the Om in a meditation corner, give it the same care you would give anything you look at every day. It is 100% plastic free and recyclable, which makes it an easy piece to live with, but it still deserves a straight hang.
One more habit worth stealing: keep the release tabs accessible. When you press the piece to the wall, the tabs on the strips should point down or to the side, not up behind the piece. If you ever need to remove the Om, you can reach the tab without prying at the wood. Little things like that are the difference between a clean move and a chipped edge.
8.8 ounces means no stud finder, no drill, no wall anchor, and no hole to patch when you move.
That is the whole method. Clean the surfaces, measure once, put the strips on the piece, press, and wait. I have hung ornaments, wreaths and signs this way for the past few years, and the only holes in my walls are the ones I made before I learned better. The 12-inch Sacred Om from Fourth Level Manufacturing has been on my living room wall for a month now, and it has not moved a quarter of an inch.
Hang it once, move it whenever you want
The 12-inch Sacred Om from Fourth Level Manufacturing is light, thin, and built from layered basswood, which makes it the ideal candidate for a damage-free hang. Check today's price on Amazon and see it on your own wall.
Amazon Check Today's Price on Amazon →