
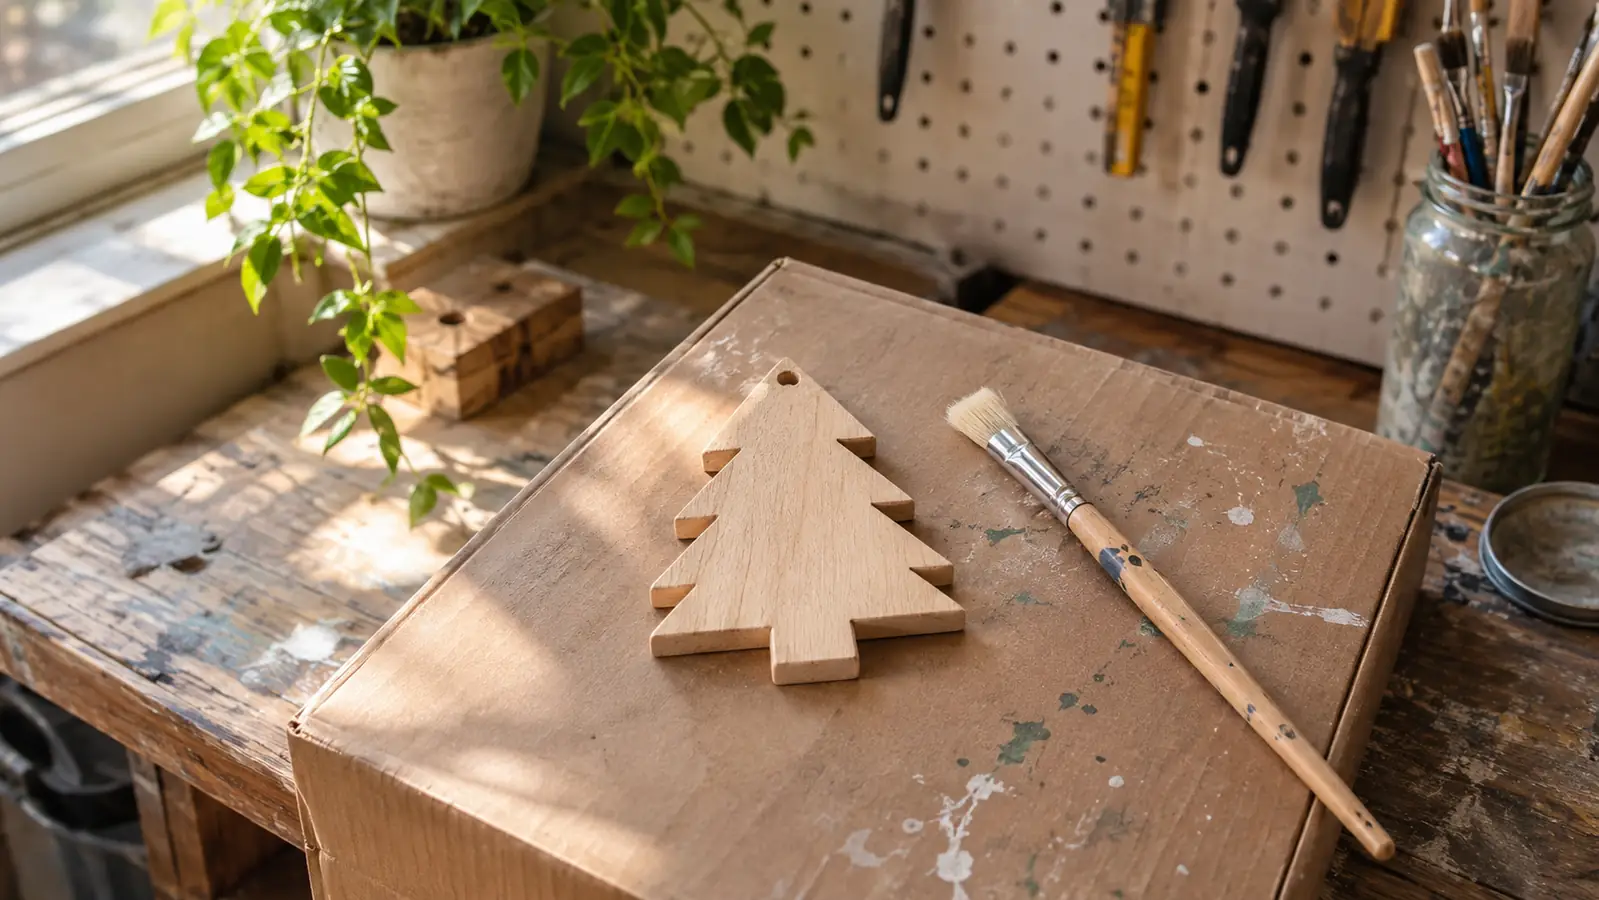
Every year around Thanksgiving I pull out a box of wooden ornaments I painted in a hurry, and every year a few of them look like they were painted in a hurry. Bare spots, brush marks, twine that slipped out of the hole. The fix was not more talent. It was a slower process, and it starts with the right blank. The N&T NIETING 27-piece set of 4-inch unfinished wooden tree ornaments gives you nine styles with three of each, which is enough variety to fill a tree without looking like a catalog display.
I have been making laser cut and scroll-cut ornaments for about six years, mostly from my converted garage workshop outside Knoxville, and I have ruined my share of perfectly good blanks by skipping steps. Sanding, sealing, painting, sealing again. It sounds like a lot. It takes one afternoon, and the difference between an ornament that lasts one Christmas and one that lasts ten is mostly patience. That is the whole article in one sentence, but I will walk you through it anyway, because patience is easier to describe than to do.
Bare wood, nine shapes, three of each
The N&T NIETING unfinished tree ornaments are natural wood with twine in the pack, so your only job is the fun part. Check today's price on Amazon and give yourself one slow afternoon.
Amazon Check Today's Price on Amazon →What You'll Need
Before you open the pack, gather the boring stuff. 120-grit sandpaper or a sanding sponge, a soft brush or tack cloth, acrylic craft paint in the colors you actually want on your tree, a small bowl of water, paper towels, and a clear sealer. I use a matte water-based polyurethane because it dries fast and does not yellow, but any clear craft sealer you already own will do. You do not need to buy anything fancy, and you do not need a dedicated craft room. A folding table and a window that opens are enough.
One more thing: a cardboard box lid makes a fine drying rack. You will not believe how many ornaments fit on one lid, and you will not believe how annoyed you get when a wet ornament rolls off the table. Ask me how I know. If you have a pegboard wall, like I do, you can also push pins into it and hang the ornaments by their twine while the paint dries. That works even better, because both sides get air.
Step 1: Sand every edge, even the ones that feel smooth
Unfinished wood from any factory has a light fuzz on it, and the laser cut edges on these N&T NIETING trees have a thin charred layer that will show through paint if you do not knock it down. I give each of the 27 pieces a quick pass with 120-grit, mostly on the edges and the face. Twenty seconds per ornament, tops. You are not trying to reshape anything. You are just giving the paint something to grab.
Wipe each one with a tack cloth or a barely damp paper towel afterward. Dust is the enemy of a smooth finish, and it is also invisible until you paint over it. This is the step I used to skip, and it is the step that made my first batch look like a craft fair reject. Now I sand and wipe all 27 before I even open a paint bottle. It takes twenty minutes and it saves a whole evening of frustration.
While you are at it, check the hanging holes. The twine comes in the pack rather than pre-threaded, which I prefer, because you can swap in ribbon or wire instead. Set the twine aside for now. If a hole looks rough, run the sandpaper through it once or twice. A rough hole will chew through twine by March.
Step 2: Decide whether to seal before you paint
Here is the question nobody warns you about: bare wood drinks paint. The first coat will look blotchy no matter what you do, because some parts of the grain soak up more than others. You have two options. Option one, thin your paint slightly and accept that you will need two or three coats. Option two, brush on a thin coat of sealer first, let it dry, then paint. Both work. The choice is about how much time you have.
I usually skip the pre-seal on small ornaments because two thin coats of acrylic cover fine, and the pre-seal adds an hour of drying time to an afternoon project. But if you are painting with a light color, or you want a smooth, uniform look, pre-seal. Test on one ornament first. That is the whole trick: test one before you commit to 27. The one you test will tell you everything about how the rest of the batch will behave.
One note about the sealer: if you pre-seal, use the same sealer you plan to finish with. Mixing a water-based sealer with a different top coat is how you get a finish that looks fine for a week and then clouds over. Keep it simple. One brand, one can, from the first coat to the last.
Step 3: Paint in thin coats, and resist the urge to fix mistakes while wet
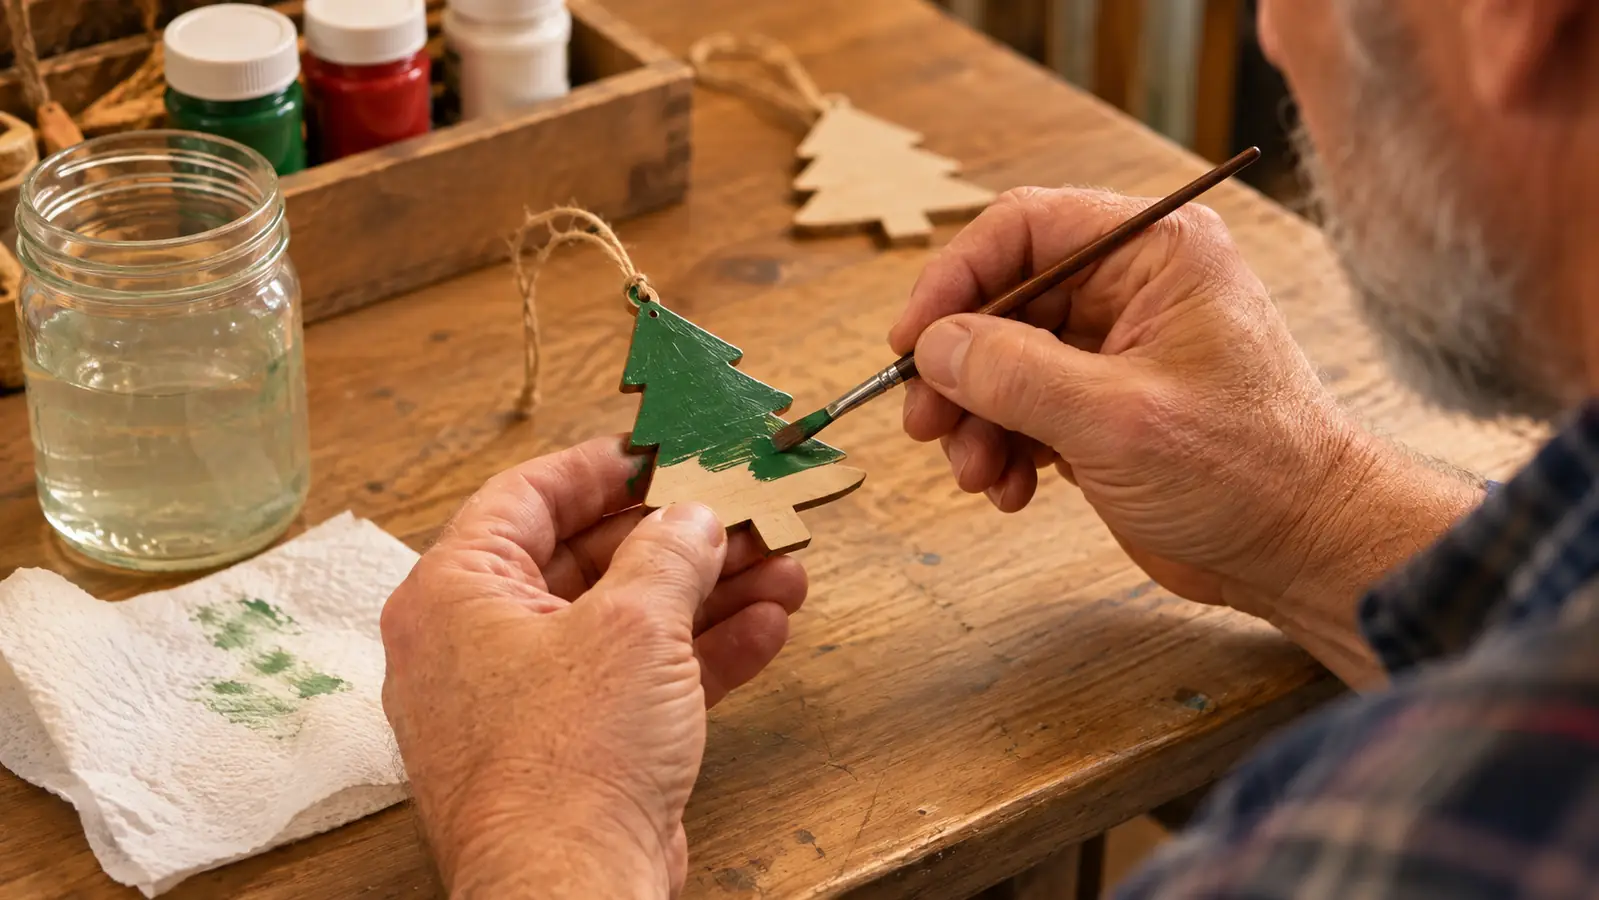
Thin coat means the paint goes on almost translucent. It looks wrong at first, and your hand will itch to add more. Let it dry completely, then add the second coat. Two thin coats cover better than one thick coat, and they will not leave brush marks or drips. If you need a third coat on a light color, do it. Three thin coats still look better than one thick one.
Use a small brush, the kind you would use for model painting. These trees are 4 inches tall, so a big brush is just a way to paint your fingers. I hold the ornament by the edge, paint the front, set it down, and come back for the back after the front is dry. Yes, it doubles the drying time. No, there is no shortcut that looks as good. I have tried them all.
If you make a mistake, let it dry and paint over it. Poking at wet paint with a paper towel makes it worse. I say this from experience, and from the pile of ornaments that prove it. The good news is that a mistake on a 4-inch tree is never a big mistake. It is a small tree, and a small fix covers it.
Step 4: Seal everything, including the back
The sealer is what separates ornaments that last one season from ornaments that last ten. I use two thin coats of matte water-based polyurethane, brushed on with a cheap foam brush, with an hour between coats. The back gets sealed too, because the back is what rubs against the tree and the storage box all year. The front gets the attention, but the back does the work.
Sealing also protects the paint from humidity. A heated house in winter is dry, but a garage or attic where ornaments sit from January to November is not. If you have ever pulled out a box of ornaments and found paint stuck to the newspaper, you know exactly why this step matters. I keep my finished batch in a cardboard box with wax paper between the layers, and I still seal everything.
Two coats is the minimum. If the ornaments are going on a tree that stays up for a month, or if they are gifts, do three. The third coat takes ten minutes and costs almost nothing, and it is the difference between an ornament that survives a dozen Christmases and one that shows wear by March.
Step 5: Add the hanger and let everything cure
The twine that comes with this set is simple and it works. Cut a length about eight inches, thread it through the hole, and tie a knot big enough that it will not pull through. I tie a small knot at the end of each string so the ornament cannot slide off the branch. Test the knot by giving it a gentle tug before you hang it.
Then the hard part: leave them alone for at least 24 hours. Paint dries fast, but sealer cures slow. If you hang them the same day, you risk little dents where the twine touches the edge. You will be the only one who notices them, and they will bother you every single Christmas. I hang my batch on a pegboard for a full day before they go anywhere near the tree.
If you are giving these as gifts, add one more step: a small loop of ribbon tied around the twine makes them look like you bought them at a shop. My daughter Josie lives in Asheville, and I mail her a few every year. The ribbon keeps them from looking like a school project, which is the difference between a gift and a craft.
What Else Helps
A few things I learned the slow way. First, write the year on the back of a few ornaments with a fine marker before you seal. Second, if you are giving these as gifts, paint them in sets of three so nobody feels shortchanged. Third, keep one ornament unpainted as a test piece for trying new colors and finishes. And fourth, if you are painting with kids, skip the sealer and let them go wild. The sealer is for ornaments you want to keep.
One more habit that pays off: keep a notebook card in the box with the batch. Write down the brand of paint, the brand of sealer, and the date. Next year, when you want to match a color, you will have the answer instead of guessing. I started doing this two years ago and it saved me from buying the wrong red three times.
How Long Does the Whole Thing Take
If you spread it across two afternoons, the whole project is about four hours of actual work. Afternoon one: sand, wipe, and paint the first coat on all 27. Afternoon two: second coat, sealer, and hangers. The drying time does the heavy lifting. That is the part most people underestimate, and it is the part you cannot rush.
A single ornament, start to finish, is maybe fifteen minutes of hands-on time. The reason people fail at this project is not the painting. It is the impatience. If you can wait, you win. If you cannot wait, paint six ornaments instead of 27 and do them properly.

Common Mistakes I Have Made So You Do Not Have To
The biggest mistake is rushing the first coat. The second biggest is not testing the twine knot before you commit. The third is storing ornaments before the sealer has fully cured, which is how you get ornaments that stick together in the box. All of these are easy to avoid, and all of them are easier to avoid when you are not trying to finish 27 ornaments in one evening.
The fourth mistake is the one I still make: comparing my batch to the pictures online. The ornaments in the listing photos were painted by someone with a light box and a lot of patience. Yours will look like yours, and that is the point. A hand-painted tree with a slightly crooked edge is worth more than a perfect one from a store.
Two thin coats of paint and a coat of sealer beat one thick coat every time, and I have a box of my own mistakes to prove it.
The Short Version
If you only remember three things: sand the edges, paint in thin coats, and seal everything. The N&T NIETING set gives you 27 good blanks, and the finish is where the value shows up. A plain tree ornament painted carefully beats a fancy one painted in a hurry. That is the whole article.
Ready to paint your own batch?
The N&T NIETING 27-piece set of unfinished wooden tree ornaments is the blank I keep coming back to. Check today's price on Amazon and give yourself one slow afternoon.
Amazon Check Today's Price on Amazon →