
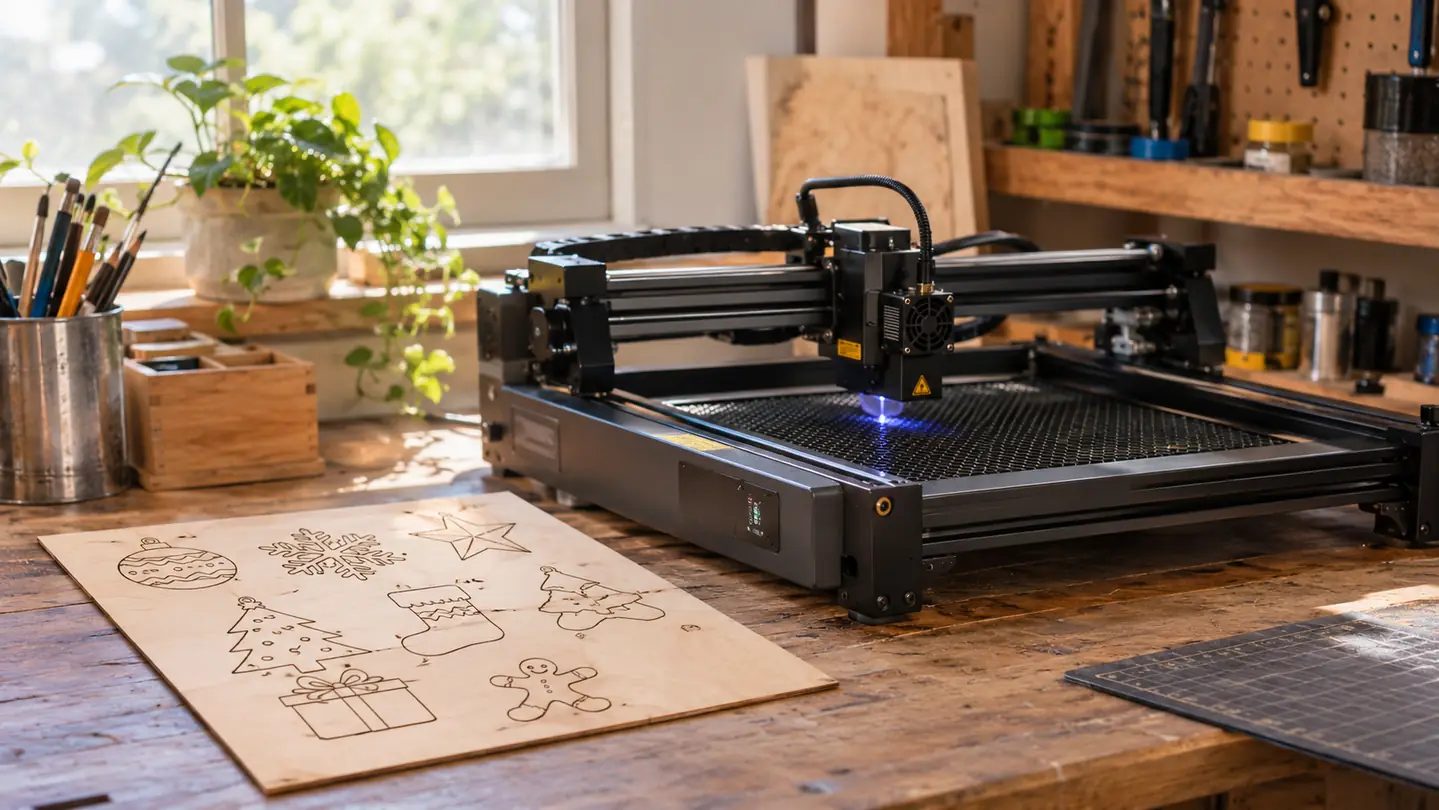
Every December I promise myself the ornaments will be easier this year. Then I cut a sheet of 3mm basswood, the corners curl, the letters come out brown, and I remember why I keep notes. If you have a Twotrees TTS-55 Pro on your workbench, the same machine that does signs and small plaques can do a whole batch of ornaments. The trick is not speed. It is preparation, settings, and knowing when to stop fiddling.
I am Wren Hollister. I have been cutting wood ornaments for about six years, mostly for two church craft fairs and for family. This guide is for the Twotrees TTS-55 Pro, the 5500 mW model. The machine cuts 3mm basswood well, but only after you set it up the way the material wants. I have burned enough scrap plywood to learn that the hard way, so these notes are the plain version.
Cut your first clean 3mm ornament tonight
The Twotrees TTS-55 Pro has the power for 3mm basswood, and the setup below takes less than an hour. Check today's price on Amazon to see current availability.
Amazon Check Today's Price on Amazon →Why 3mm basswood is a good place to start
Basswood is soft, tight-grained, and easy to cut, which makes it ideal for small ornaments. It does not splinter as much as pine, and it takes paint and engraving well. A 3mm sheet is thick enough to feel sturdy in your hand but thin enough that a 5.5W laser can cut through it in a single pass. That is why most of my ornament patterns are designed for 3mm stock.
The Twotrees TTS-55 Pro is a 5500 mW (5.5W) Class II laser. That power level is enough for 5mm plywood, 3mm acrylic, and 0.7mm leather, according to the listing. Basswood is softer than plywood, so 3mm basswood is firmly within its range. I have cut hundreds of ornaments on this machine, and the failures I have had were almost always my settings, not the machine.
Step 1: Set up the machine on a steady surface
The TTS-55 Pro measures about 10 by 4.97 by 7 inches, and it weighs 8.23 pounds. That weight is enough to stay put on a folding table, but I still set mine on a rubber mat with the feet level. Basswood wants a stable bed. If the machine shifts mid-cut, the lines wander and the ornaments come out lopsided.
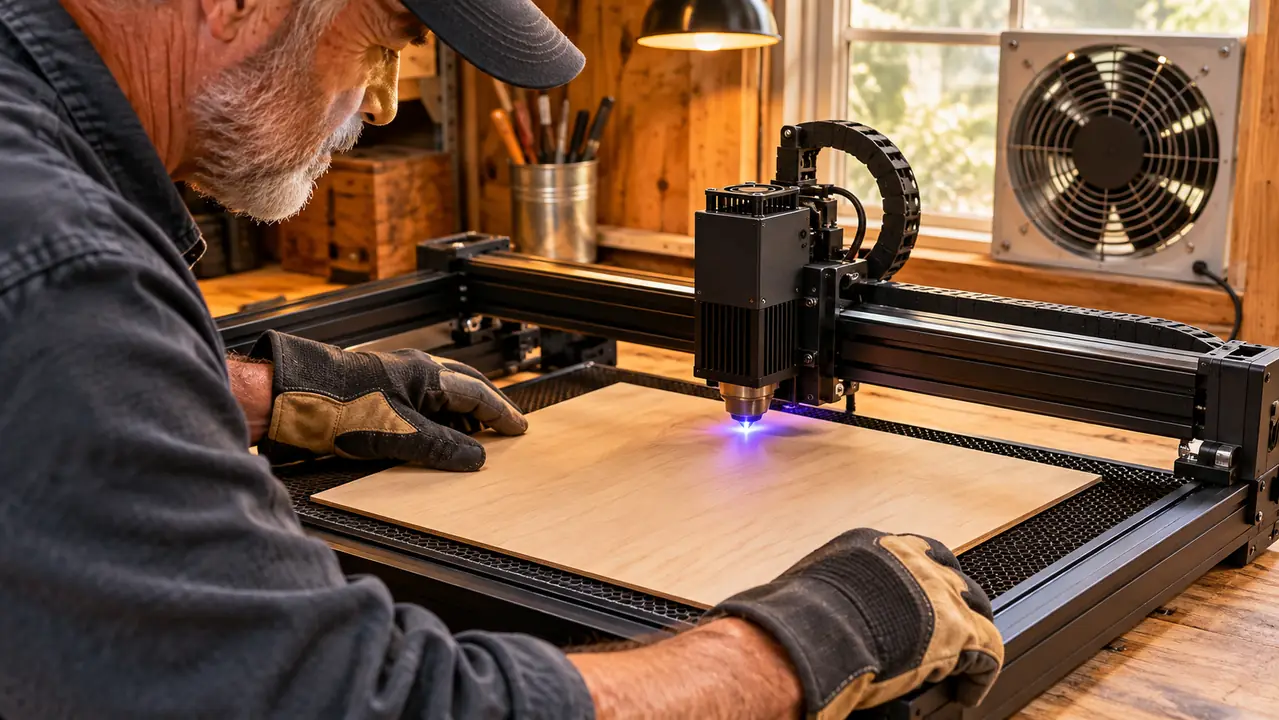
Put the machine near a window or a fan. I have a window vent fan in my converted garage, and I turn it on before every cut. Laser work smells like a campfire at best, and the smoke settles on the wood if it has nowhere to go. A little moving air makes a bigger difference than people expect.
Give yourself room to work on both sides of the machine. I keep a folding work table clear except for the TTS-55 Pro, a small brush, and a notepad. The notepad matters more than it sounds. Write down the settings that worked, because you will not remember them in July.
Step 2: Pick a clean sheet of 3mm basswood and flatten it
Basswood sheets from craft stores are usually flat, but humidity can make them bow. If the sheet rocks on the bed, the focus changes across the cut. I press gently at the corners. If the sheet moves, I flip it over or set a couple of light magnets along the edges. Do not use tape over the cut line, because the laser can burn through tape and leave a sticky mess.
Look at the sheet in raking light before you cut. You are checking for knots, glue lines, and spots where the grain runs the wrong way. 3mm basswood is forgiving, but a knot can make the laser slow down and char. I sort my sheets into two piles: one for ornaments I give away, and one for test cuts and practice pieces.
If the sheet has a slight cup, put the high side down against the bed. That sounds backwards, but it keeps the top surface closer to the laser's focus across the whole piece. I learned this after a batch of snowflakes came out with one thick arm and one thin arm.
Step 3: Set the focus and test the air assist
The TTS-55 Pro supports air assist, which is worth using on wood. A stream of air over the cut line clears smoke and keeps the edge from charring. If your kit did not come with a nozzle, you can still cut cleanly by slowing down and keeping the room fan going. I use the air assist on every basswood batch.
Set the focus before every session. I lower the laser module until it is just above the wood, then raise it the thickness of a business card. That gives me a clean starting point. If the focus is too high, the beam spreads and the edges turn brown. If it is too low, the cut is slower and the back of the wood gets scorched.
Run a test square on a scrap corner before every batch. I start around 80 percent power and 60 millimeters per second, then adjust from there. The TTS-55 Pro is rated to cut 5mm plywood, 3mm acrylic, and 0.7mm leather, so 3mm basswood sits well inside its range. Basswood is softer than plywood, which means you can often speed up a little once the test square comes out clean.
A note on safety
Any laser engraver deserves respect, and the TTS-55 Pro is no different. It is a Class II laser, so I wear laser safety glasses designed for the wavelength, and I never leave the machine running while I walk away. I keep the window vent fan on and the garage door cracked. The smoke from basswood is not pleasant, and good ventilation makes the work better.
I also keep a fire extinguisher near the workbench. I have never needed it, but cheap insurance is cheap. Do not cut wood that has been painted, stained, or treated, because the fumes can be nasty and the finish can catch. Bare basswood is the right material for this project.
Step 4: Cut a test ornament before the whole batch
I cut one ornament from the same sheet I plan to use. I look at the back of the piece. If the outline is fully through, the settings are right. If the piece lifts out with a thin web, I bump the power by 5 percent or slow the speed by 10 percent. I write the change in the notepad before I touch the machine.
Watch the first pass. If the smoke is thick, the focus is too high or the speed is too fast. If the edges are brown but the cut is clean, back off the power a little. If the piece drops out with no resistance, you have room to speed up and save time on the rest of the batch. The goal is a cut that is clean on the front and only slightly darkened on the back.
Do not cut the whole sheet on faith. Ornaments are small enough that one bad test costs you five minutes, while a bad full sheet costs you an evening. I keep a stack of scrap 3mm basswood beside the machine for exactly this. It is the cheapest insurance I know.
Step 5: Clean, sand, and finish the ornaments
After the cut, the pieces drop out with a little char on the edges. I brush them with a soft paintbrush, then sand the edges with 220-grit paper. A light pass with a tack cloth gets the dust off. I do this over a trash bin, because the dust gets everywhere.
I paint or engrave the faces. The TTS-55 Pro is a laser engraver as well as a cutter, so I often engrave names or dates before cutting the outline. That way the ornament is one setup instead of two. For painted ornaments, I use a water-based acrylic and a small brush, then let them dry on a cooling rack.
Finish with a water-based sealer or wax. Do not use oil-based finishes on bare wood if you plan to paint later, because the paint will not stick. I give the finished ornaments a day to cure before packing them for the craft fair. My daughter Josie in Asheville gets first pick of the mistakes, which is her favorite part.
Troubleshooting common problems
If the edges are brown, lower the power or raise the speed. If the cut does not go through, raise the power or lower the speed. If the piece sticks to the bed, clean the bed surface with a dry brush. If the letters come out fuzzy, check the focus before you change anything else.
Charring on the back of the wood usually means the focus is too low or the speed is too slow. A clean back matters for ornaments because people turn them over. I check the back of every test piece before I commit to a full sheet. It takes ten seconds and saves a lot of sanding.
If the machine makes a clicking or stuttering sound on a curve, slow down. Complex ornament shapes with tight curves need a little more time than straight lines. I cut snowflakes and reindeer at a slower speed than simple circles, and the extra minute is worth it.

A few patterns that work well
Simple shapes cut faster than detailed ones, but the detail is where ornaments earn their keep. I have had good luck with round ornaments, snowflakes, reindeer, and small trees. The key is to keep the smallest detail at least as wide as the width of the laser beam. If a line is too thin, it burns away before the cut finishes.
I also leave a small tab between the ornament and the surrounding wood on complicated designs. The tab holds the piece in place while the laser works, and I snap it free afterward. For 3mm basswood, a tab about the width of a paperclip is enough. This one habit stopped most of my broken antlers and thin branches.
Engraving first, then cutting, is the order that works for me. When I cut first, the small pieces shift on the bed and the engraving lands off-center. When I engrave first, the sheet stays put and every ornament lines up. I learned this the year I made forty reindeer with crooked eyes.
What to do with your first batch
The first batch does not have to be perfect. I keep the good ones for the craft fair, give the slightly imperfect ones to family, and use the worst ones as paint tests. My husband Dale has a box of my early ornaments that he refuses to throw away. That is the best compliment I get.
If you are making ornaments for a craft fair, cut a few extras of each design. There is always one person who wants to buy the one you just sold. I also write the year on the back of every ornament with a fine marker, which makes them feel like keepsakes.
What Else Helps
Three things make the whole process easier: a notepad for settings, a stack of scrap wood for tests, and a window vent fan. I also keep a small brush and 220-grit sandpaper within reach. You do not need a bigger machine or a fancier workshop. You need a steady bed, clean material, and the patience to run one test cut before the real batch.
One more thing: label your settings in the notepad by material and thickness. I write 'basswood 3mm, 80 percent power, 60 millimeters per second, air assist on' at the top of every page. Six months later, when I come back to ornaments after a season of signs, that note saves me an entire evening of guessing.
The difference between a good ornament and a frustrating one is usually the test cut, not the machine.
Ready to make your first batch?
The Twotrees TTS-55 Pro cuts 3mm basswood cleanly when you give it a stable bed and a test run. Check today's price on Amazon to see current availability.
Amazon Check Today's Price on Amazon →