
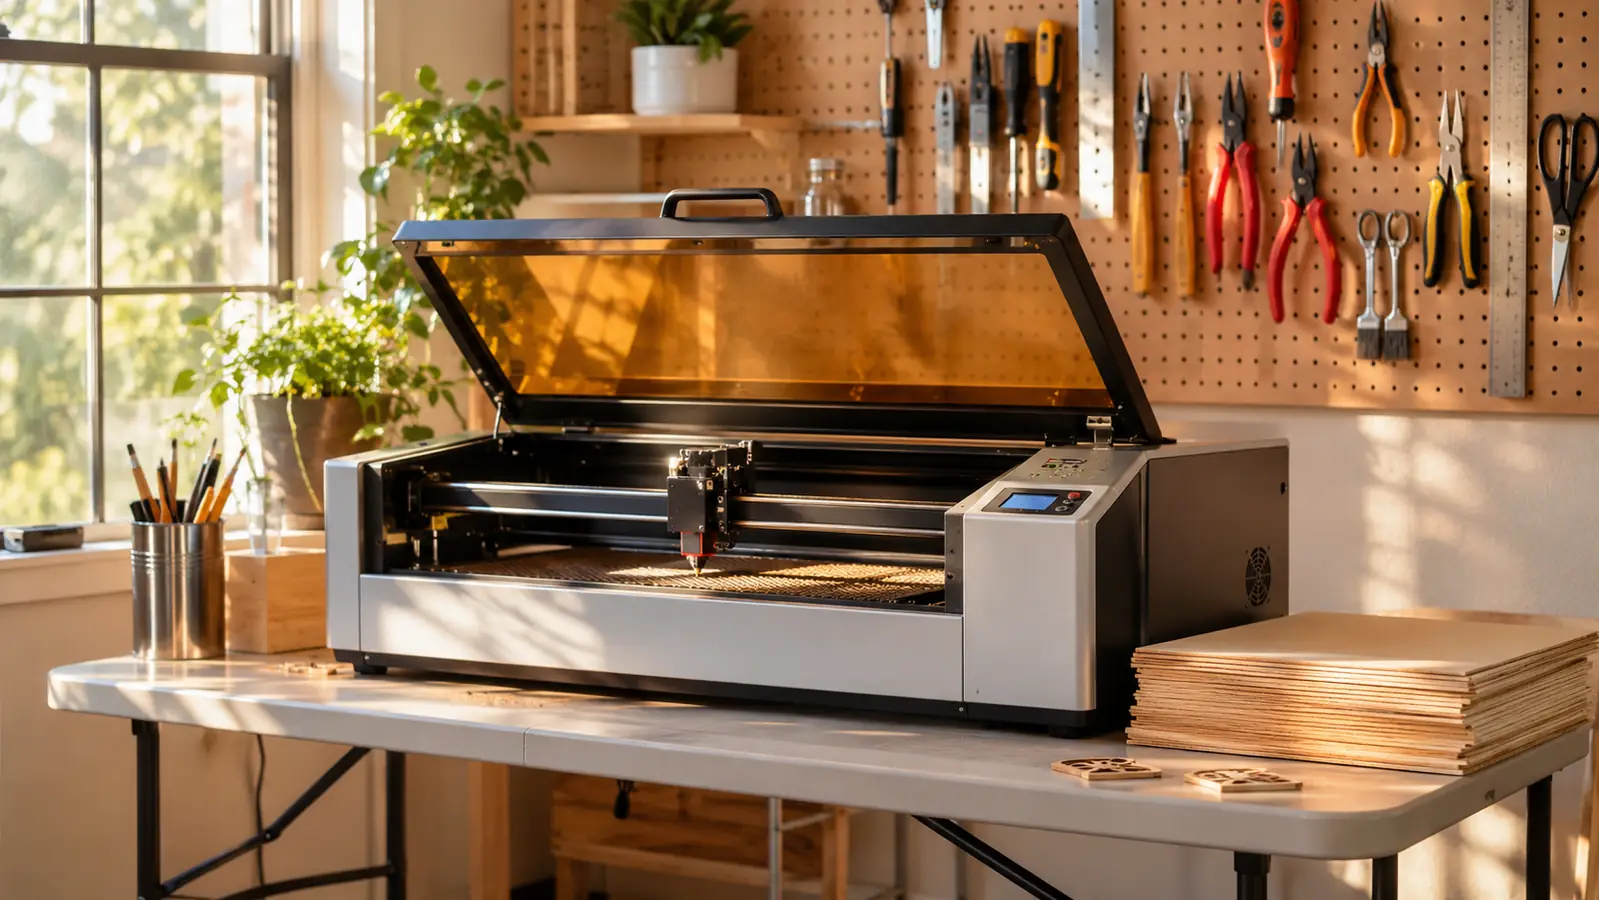
Every sheet of basswood is trying to warp. That sounds dramatic, but it is only what thin wood does. A 12 by 12 sheet of 1/8 inch basswood is about three millimeters thick, and it drinks moisture out of the air like a sponge. One humid week in a garage and the edges start to cup. Leave it leaning against a wall and you will get a bow you can see across the room. And a warped sheet is the fastest way to ruin a laser project. The focus drifts, the cut widens, the edges scorch, and the pieces that are supposed to fit together simply do not. The ones that fit together are the whole point of the hobby.
I have been cutting wood ornaments in a converted one-car garage for about six years now, and I have burned plenty of scrap learning what works. The VKIZA 30 pack of 12x12x1/8 basswood sheets is the one I keep coming back to. It shows up flat, the surface is smooth, and the box runs about 2.3 kg, which tells you the sheets are solid, not flimsy. But even good sheets will warp if you treat them badly. Here is the plain routine I run before every batch of ornaments, from the day the box lands on my folding work table to the moment the sheet goes on the laser bed.
Flat sheets make clean cuts. Start with the VKIZA 30 pack.
Thirty 12 by 12 sheets of 1/8 inch basswood with a smooth, flat surface and enough spares that a warped sheet is an annoyance, not a ruined weekend.
Amazon Check Today's Price on Amazon →Why Basswood Warps in the First Place
Wood does not warp because it is bad wood. It warps because it is wood. The fibers hold moisture, and when the air around them is wetter or drier than the wood, the surface layers swell or shrink at a different rate than the middle. On a thin sheet, that difference shows up as a cup across the width or a bow down the length. Basswood is a soft, even-grained wood, which is exactly why it cuts so cleanly. That same softness means it moves fast when the weather changes.
The usual culprit in a home workshop is the gap between where the sheets were stored and where you cut. A warehouse in one climate, then a truck, then a damp garage, then a heated house. Every stop changes the moisture content of the wood. If you load a sheet that is still adjusting, it will move on the laser bed between the first pass and the last. That is not the machine's fault and it is not the wood's fault. It is a timing problem, and timing is easy to fix.
Step 1: Let the sheets acclimate before you cut
Give the box a day or two in the room where you cut. I put the VKIZA box on my folding work table, still sealed, and leave it for at least 24 hours, longer if the weather has been swinging between wet and dry. The idea is to let the whole stack slowly come to the same temperature and humidity as the space where it will be cut. The window vent fan stays off during this part. Still air is what you want, because moving air dries the edges faster than the middle.
If you are in a hurry, you can cheat a little. Open the box, fan the sheets out on the table for a few hours, and flip the stack once. But the honest version is to plan ahead. I order a fresh pack a week before a craft fair push so the sheets have time to settle. Basswood does not mind waiting. It minds being cut while it is still moving. A sheet that warps on the bed halfway through a batch of ornaments is a sheet that wastes an evening.
One note about where acclimation happens. Do it in the cutting room, not the hallway or the back porch. The whole point is that the wood matches the air it will meet on the laser bed. If you acclimate it somewhere else, you have only moved the problem. The same goes for the garage in summer. If the workshop is hotter or damper than the house, the sheets need to sit in the workshop, not in the living room. Basswood is forgiving about temperature. It is not forgiving about being cut while it is still moving.
Step 2: Sort every sheet and read the grain
Take the sheets out one at a time and look at them on edge. Hold each one at eye level and sight down the length like a board, then across the width. You are looking for three things. A cup, where the two long edges curl up like a shallow U. A bow, where the middle rises like the back of a rocking chair. And a twist, where one corner lifts while the opposite corner stays down. A twist is the one that will not flatten easily, so find it before you commit the sheet to a project.
Most of a 30 pack will be flat. A couple may show a slight cup, and one or two may be noticeably bowed. Do not throw them out. Sort them into a flat stack and decide which projects they are good for. A sheet with a mild cup is fine for small ornaments, because the pieces are small enough that the curve never matters. A twisted sheet is the one to set aside for test burns and focus squares. It still has a job, just not the one you planned.
Read the grain direction while you are at it. Basswood has a tight, even grain, and it cuts about the same in any direction, which is one of the reasons it is such a friendly wood for ornaments. But it bends more easily along the grain than across it. If a sheet is going to cup at all, it will cup along the grain. Knowing which way that runs helps you decide which side faces up on the laser bed, which is Step 5.
Step 3: Flatten under weight, the boring way
The reliable fix for a slightly bowed or cupped sheet is weight and time. Lay the sheet between two flat boards, put something heavy on top, and leave it overnight. I use a piece of scrap plywood on the bottom, the sheet on top of that, another piece of plywood over it, and a stack of old hardcover books from my school librarian years. A 12 by 12 sheet of 1/8 inch basswood flattens under surprisingly little pressure, but it needs hours, not minutes.
Do not try to force it. Dampening the wood or steaming it will make the warp worse as it dries, and clamping a stubborn sheet flat and cutting it while it fights the clamp just stores the problem for the moment the clamp comes off. Weight lets the fibers relax at their own pace. If a sheet is badly twisted, give it two nights. If it is still twisted after that, it is a test piece, and test pieces are honest work.
Flatten the whole stack while you are at it. Even the flat sheets benefit from sitting under weight, because it keeps them from picking up a new curve while they wait. I keep a board-and-book sandwich going all winter. It takes up a corner of the work table and it saves me from rediscovering a warped sheet at the worst moment, which is always the night before a craft fair. Anything heavy and flat will do. I have used a case of canning jars and a box of tile samples.

Step 4: Store flat, dry, and off the concrete
Most warping happens in storage, not in transit. A garage workshop is a damp place in Tennessee, especially from fall through spring. Concrete floors sweat, and a stack of wood sitting directly on the floor soaks up that moisture from the bottom sheet up. The bottom sheet in the stack is always the one that cups first. If your workshop has a concrete floor, get the wood off it. A couple of scraps of 2 by 4 under a board is enough to break the contact.
Keep the sheets flat on a shelf or on a board raised off the floor, and keep the stack under a little weight. The VKIZA pack comes with all 30 sheets together, which is a good start, because a tight stack is its own moisture barrier. The outer sheets take the humidity and the inner sheets stay flat. If you want to be extra careful, add a couple of silica gel packs at the edge of the stack and swap them out when they feel soft.
The other rule is to keep the stack away from the garage door and the window vent fan. Air moving across the end of the stack dries the end grain faster than the middle, and that is how a sheet ends up shaped like a shallow bowl. Still air is friendly to wood. Moving air is not. I keep my stack on the shelf above the pegboard wall, which is out of the draft and out of my way.
Step 5: Hold the sheet flat on the laser bed
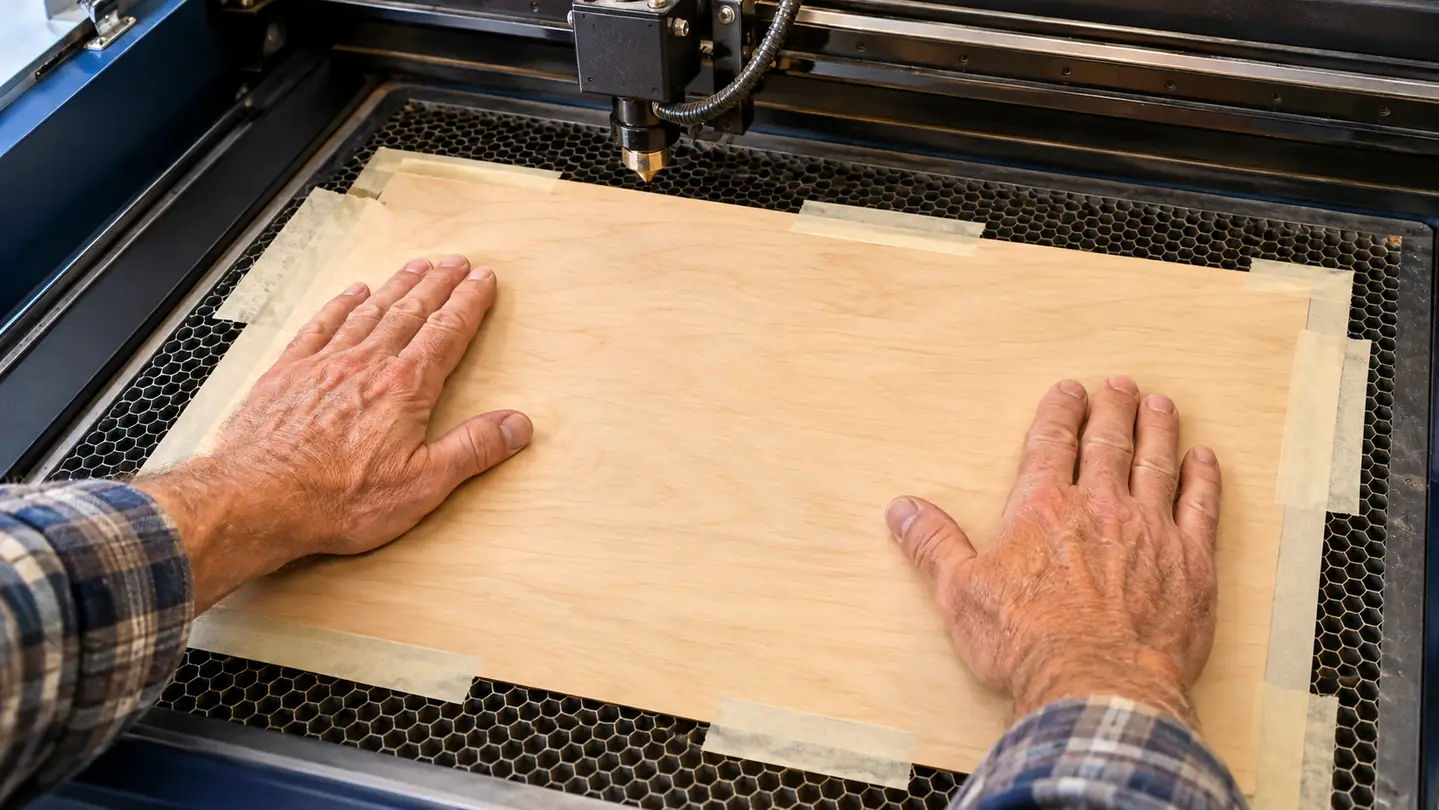
After all that, the sheet still needs help while it cuts. A 12 by 12 sheet of 1/8 inch basswood is light, and the laser can pull at it as it cuts, especially on long straight lines. The simplest fix is masking tape. Run a strip of tape along each edge and press it down onto the bed. The tape holds the edges, and the edges are what lift first. Use the tape like it is free, because it is. Cheap tape, not the expensive kind. The cheap kind holds well enough and peels off clean.
Which side faces up matters too. If a sheet has a slight cup, put the cup side up, so the edges are already touching the bed and the middle is the part that gets pressed down by the tape. If you put the cup side down, the edges rock and the tape fights the whole sheet. For a bow along the length, tape the ends first, then the middle. For a twist, tape all four corners and keep the settings gentle.
Keep the bed clean while you are at it. A few crumbs of charred wood under the sheet are enough to rock it a fraction of a millimeter, and on a thin sheet that fraction shows up as a fuzzy edge on the back side. I brush the bed between sheets and give it a proper wipe when I change material. It takes twenty seconds and it is the cheapest insurance there is. Flat wood on a clean bed is the whole game.
What Else Helps
Two habits have saved me more sheets than any single trick. First, cut a small test piece before the real project, especially if the sheets have been sitting for a while. A half-inch square with a line through it tells you whether the focus is still true and whether the sheet is lying flat. Second, buy more sheets than you need. A 30 pack sounds like a lot until you are sorting out the two bowed sheets and the one you used to dial in the settings. The VKIZA pack gives you enough spares that a wasted sheet is an annoyance, not a ruined weekend.
Two related articles on this site go deeper if you want them. The [long-term VKIZA basswood review](/vkiza-basswood-review-long-term/) covers how these sheets behave over months of storage. The [comparison with Baltic birch](/vkiza-basswood-vs-baltic-birch/) is worth reading if you are trying to decide between the two woods. And if you are here because you want to make ornaments, the [rundown of why basswood suits laser cut ornaments](/10-reasons-basswood-is-good-for-laser-cut-ornaments/) explains what this wood does well once it is flat. None of it is complicated. It is mostly patience and a clean bed.
A day of acclimation and a stack of old library books have saved me more sheets than any setting on the laser.
Start with a flat stack and skip the fight
The VKIZA 30 pack of 12x12x1/8 basswood sheets gives you flat, smooth, machine-friendly wood with enough spares to practice on. Let it acclimate, sort it, flatten it, store it right, and tape it down, and the laser does the rest.
Amazon Check Today's Price on Amazon →